
Step 4 of 5 – Connecting your PIXI Smart Fountain to the PIXI app
Let’s get started!
Follow all steps below for a seamless setup, or jump to a specific step by selecting it in the list below.
4.1 Add the PIXI Smart Fountain
4.2 Connecting to Wi-Fi
4.3 Switch to AP mode
4.4 Name your device
Preparations
IMPORTANT: before you get started
Make sure your smartphone is connected to your home Wi-Fi network.
If you have 2 home Wi-Fi networks, with one being 2.4 GHz, and the other 5 GHz, please make sure you are connected to the 2.4 GHz network!
Next, check the sticker at the bottom of the Catit PIXI Smart Fountain.
If the FCC ID on the sticker reads ‘2ANDL-CBU’ or ‘2ANDL-WBR3’
– Your cat’s new drinking fountain can be connected through Bluetooth, so make sure to turn on Bluetooth in your smartphone settings.
– A pop-up will appear in the app. Here, tap “bind” to start the connection process.
If you don’t get a pop-up, please close the PIXI app and reopen. You should now get a pop-up.
If the FCC ID on the sticker IS NOT one of the two codes mentioned above
– Follow the steps below to connect your Catit PIXI Smart Fountain to the PIXI app.
4.1 Add your device(s)
To add your PIXI Smart device, tap the ‘+’ button. Please make sure your phone is connected to the Wi-Fi in your home.
Note: For a smooth connection, we recommend placing your Catit PIXI Smart device right next to the wireless router as you add it to the app. Make sure the device is plugged in. You can of course choose to relocate your Catit PIXI Smart device after you’ve established the connection.
You can of course move your Catit PIXI Smart Fountain to a preferred/more convenient location once the connection has been established.

Select the PIXI Smart Fountain and tap ‘next’

4.2 Connecting to Wi-Fi
At this point, the app will ask you to connect to your Wi-Fi network. If you haven’t done this yet, please connect to the 2.4 GHz home Wi-Fi network. If you need help doing so, check out our tips on how to connect to your wireless router.

To be able to connect your Catit PIXI Smart Fountain to the PIXI app, the Catit PIXI Smart Fountain needs to be plugged in. Please check if the white (or blue) LED light on your Catit PIXI Smart Fountain is blinking rapidly (3 times per second). If this is the case, tap ‘next’.

If the light on the fountain is not blinking rapidly, press and hold the button at the back of the fountain for 5+ seconds.
Once the light is blinking rapidly, you need to grant the app permission to access the local network. To do so, go to your phone settings, select the Catit PIXI app in the app list, and make sure the local network slider is switched on. Then, return to the Catit PIXI app.

Note: You need to be connected to your home’s Wi-Fi network for this step. If done correctly, your home’s Wi-Fi name will be displayed above the password. Please make sure to fill in the password of your home Wi-Fi network.
If the correct Wi-Fi name is not displayed, return to the previous app screen and connect to your home Wi-Fi network in your phone’s Wi-Fi settings, before trying this step again.
Please wait for the app to finish connecting to your Catit PIXI Smart device. This can take up to 3 minutes.
Note: As you start the connection process, the LED light will go out.
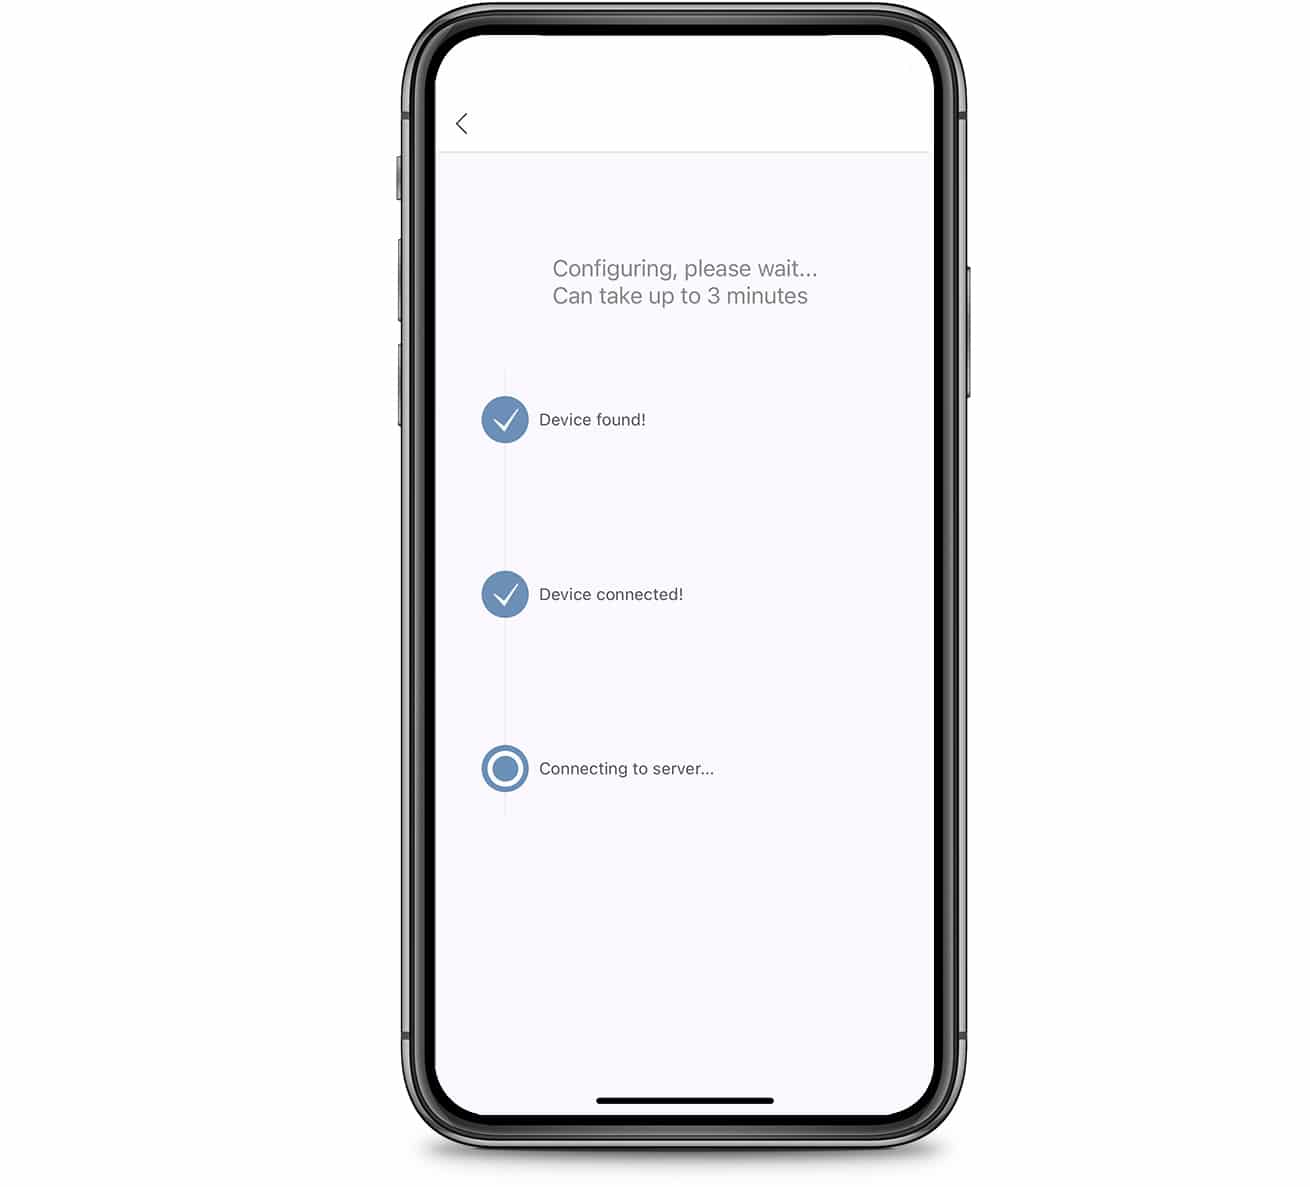
Once the connection has successfully been established, the Wi-Fi LED on your Catit PIXI Smart Fountain will start burning steadily instead of blinking.
4.3 Didn’t manage to connect? Switch to AP mode (LED blinking slowly)
If you didn’t manage to connect your PIXI Smart Fountain to the app using the method described above, you can either retry, or use the alternative connection method “AP mode”.
After you tapped the ‘AP Mode’ button, press and hold the button at the back of your PIXI Smart Fountain for 5+ seconds, or until you notice the LED light has started to blink slowly.
Once the Wi-Fi LED is blinking slowly, your device is set to AP mode.

Important: Make sure your phone is still connected to your Home Wi-Fi for AP mode. (At some point you will be requested to connect to the Smartlife Wi-Fi, but please only do this when requested in the app. Otherwise connection will fail)
With AP mode enabled, go to the Wi-Fi settings in your smartphone, and connect to the ‘Smartxxxx’ Wi-Fi network.

Connecting can take up to 3 minutes
LED light out: connection in progress
LED light burns steadily: connection established!
If you enabled notifications in the PIXI app, you’ll receive a notification when your fountain was successfully added to the app. Tap the notification to return to the app. Please make sure to not wait too long to return, as this might cause the connection to be lost again.
If no notification popped up, check if the blue check mark appears. When you see the blue check mark next to the ‘SmartLife’ network, connection has been successful. Now, don’t wait too long and make sure to return to your PIXI app to finalize the process!
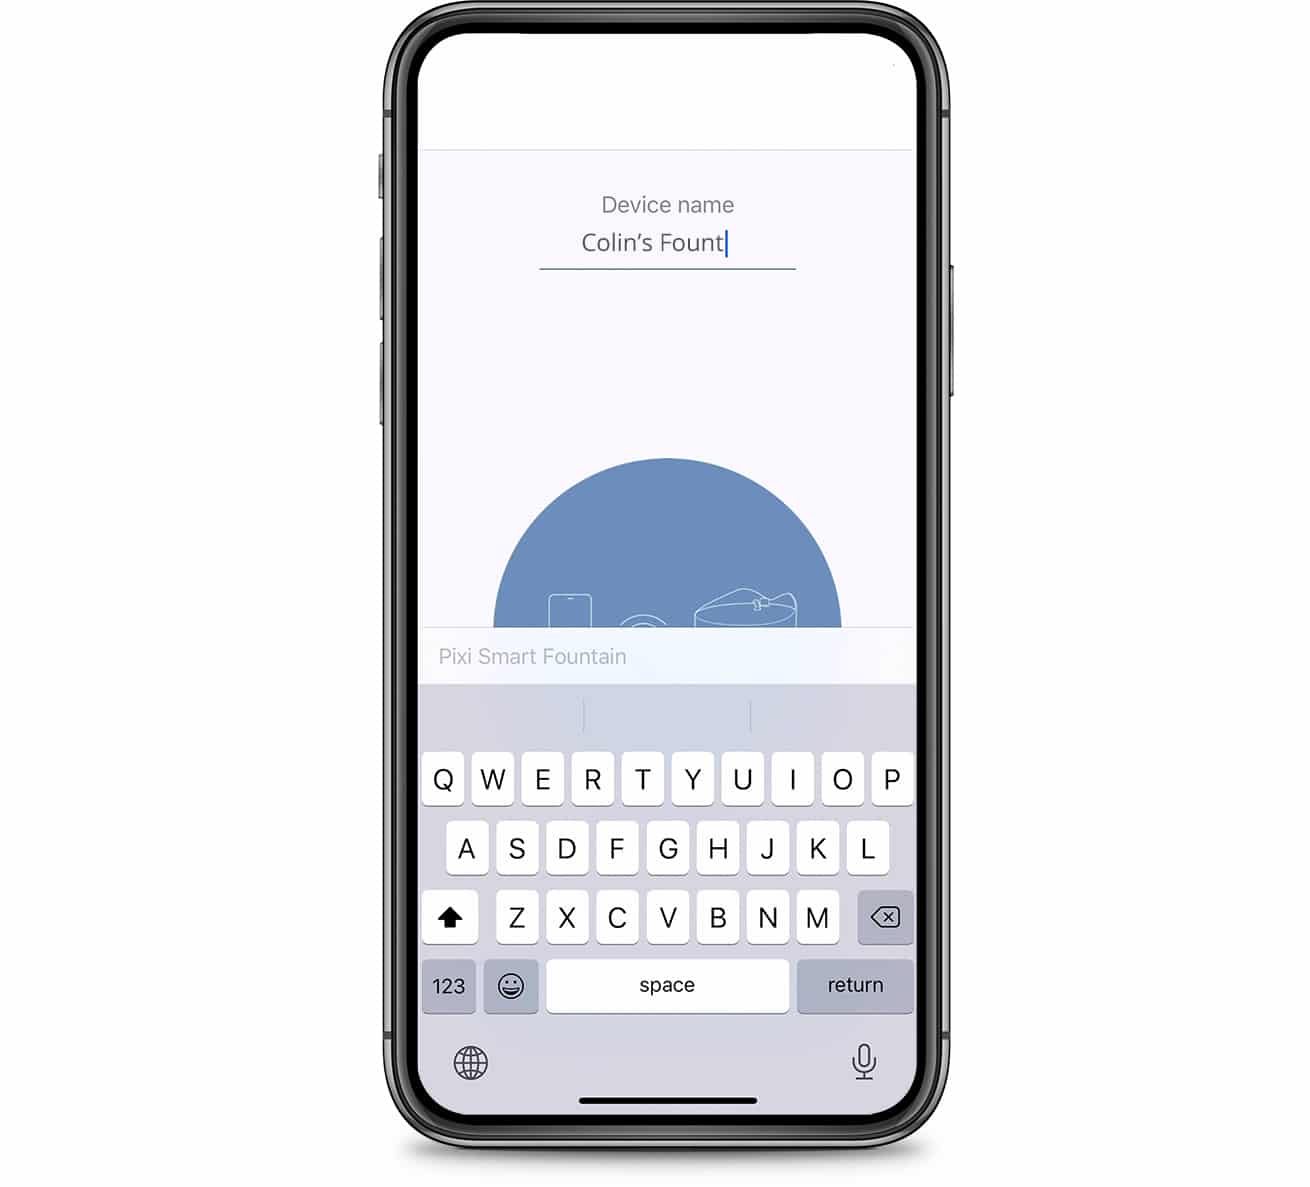
4.4 Name your PIXI Smart Fountain
You can choose to name your Catit PIXI Smart device.
Tip: Use a unique name for each device when adding multiple products.
Step 4 completed – You did it!
Now you have added the PIXI Smart Fountain to the PIXI app, it is ready to use! The PIXI Smart Fountain has many great features. Find out all about them in the Catit PIXI Smart Fountain app walkthrough.
You can also return to the PIXI Smart Fountain Help & Advice page or the PIXI Getting started page to get a complete overview of what the next steps will be.


